|
|
Lesson 2: Takeuchi Yuka
|
This tutorial will cover some of the pre-paint work, which I didn't cover in the previous lesson...
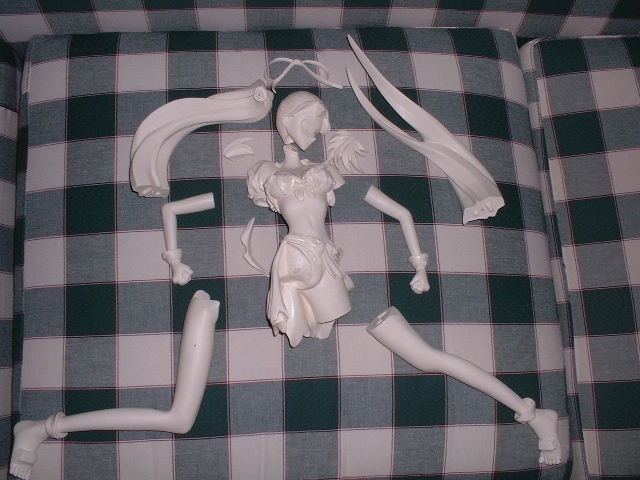
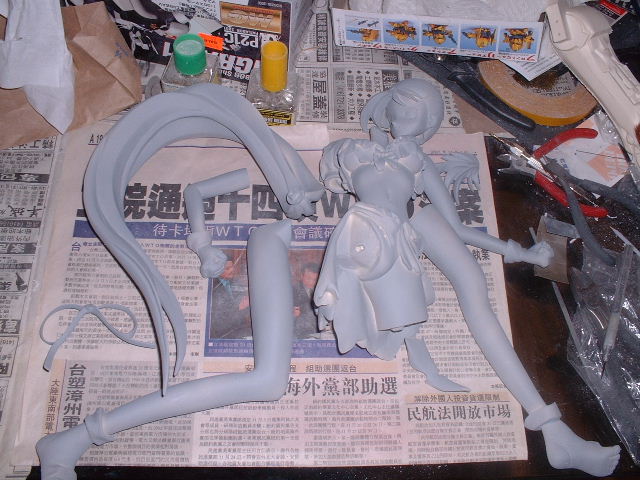
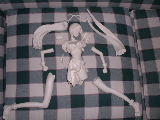
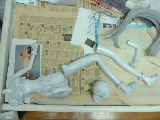
When you first get the kit, make sure you check all the pieces. Be sure that there are no missing or broken pieces. If you have missing pieces, you need to contact the seller right away to ask for a replacement. Otherwise you are not going to be able to continue. If you have pieces that are broken and something is missing check the bag more carefully. Most of the time you will find the missing broken piece inside the bag. Glue (most of time with crazy glue) them back ASAP so you don't forget.
|
|
|
| Pre-Painting Work |
|
|
Once you make sure all the pieces are there, you can start your basic work. First, cut out the excess resin and blocks. And then, before you start doing any sanding and filling, wash the kit first. I use a toothbrush with detergent and wash them in warm water. Make sure you wash every corner, otherwise your primer might have trouble sticking there later on.
|
|
|
|
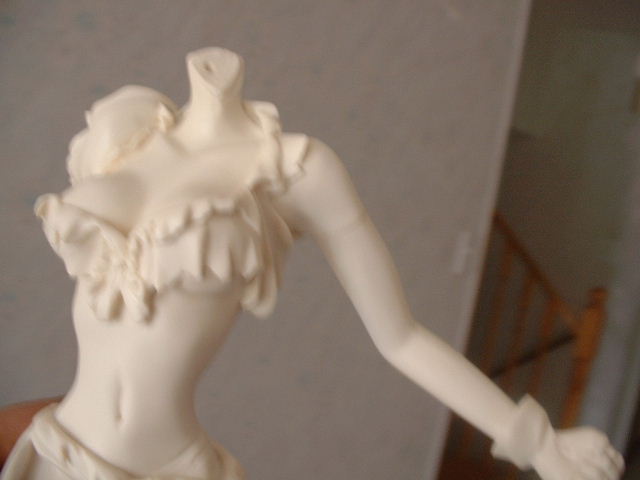
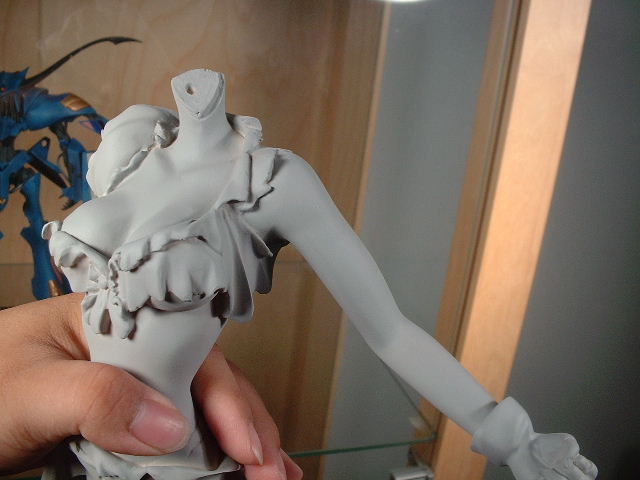
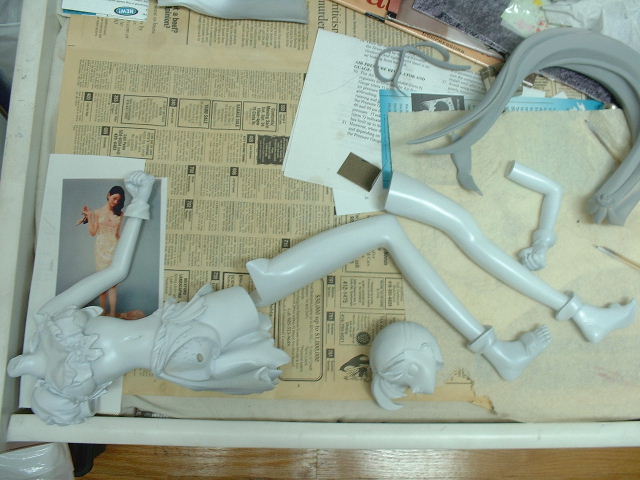
Here now, all the pieces have been sanded and polished up to #600 sand paper.
|
|
|
Now you can start with your sanding and filling job. I would do most of the sanding job first and then start to fill in the spots that need to be filled. Before priming I prefer using epoxy putty and crazy glue to do the filling, and then sanded with #240 sand paper. |
|
|
|
|
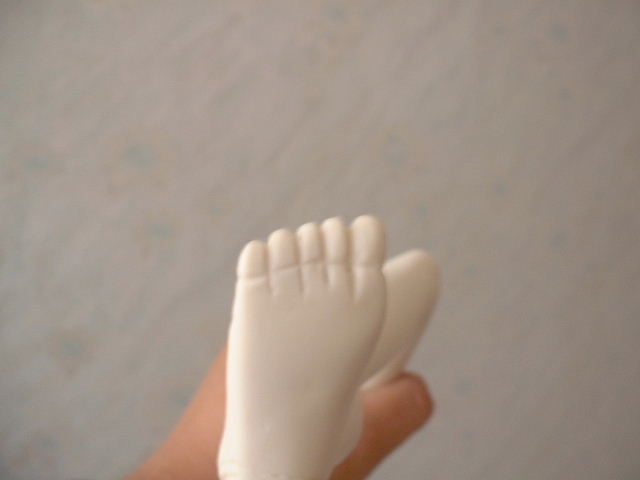
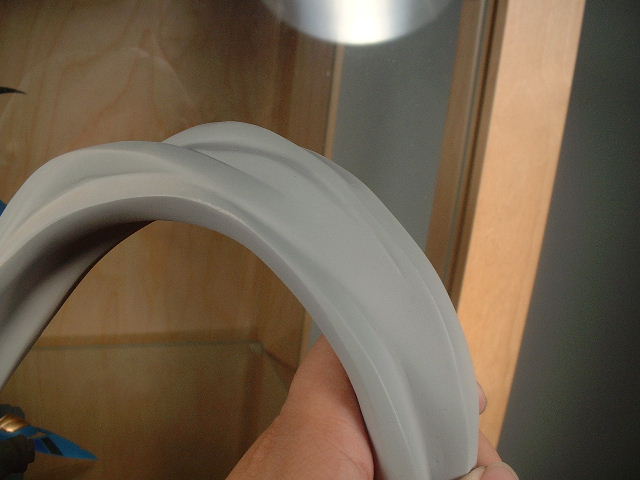
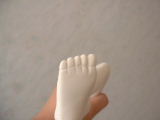
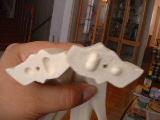
Look, look, the toes are back ^^
|
|
|
For this kit you will find that the toes are all gone because of the block. You will need to re-sculpt them back. It's actually very easy to do; because of the way this sculptor (BOME) sculpted their kit. You can use a curved file to carve the basic shape, and then hold your sand paper a bit thicker to do the sanding. It should only take you a minute or two for each leg. |
|
|
|
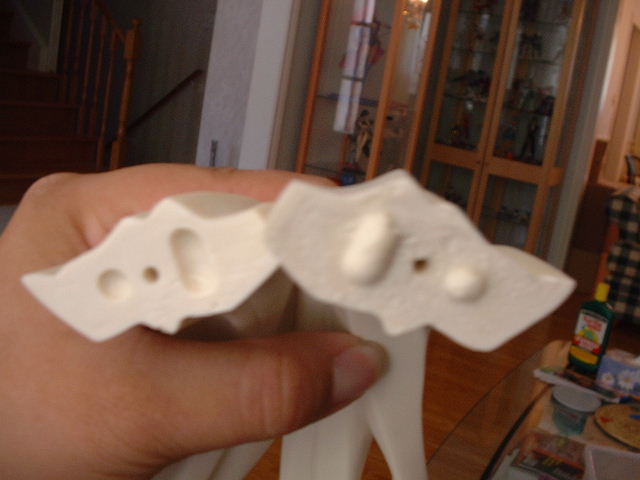
Now is pinning. Drill all the holes now, so if you make any mistakes (like drilling through... which happens even to me sometimes ^_^), you can still patch it and sand it down easily. Once the piece has been primed and painted you will want to avoid drilling in case you damage your paint job during your drilling process.
You drill holes on both pieces that need to be pinned. And then put a pin in to test whether the holes are aligned. If you find out that the holes aren't aligned properly you can either drill one side of the hole larger or bend the pin. I prefer using the first option.
|
|
|
|
Lucky me, the holes are aligned properly in just one shot ^^
|
|
|
| Painting the Skin |
|
|
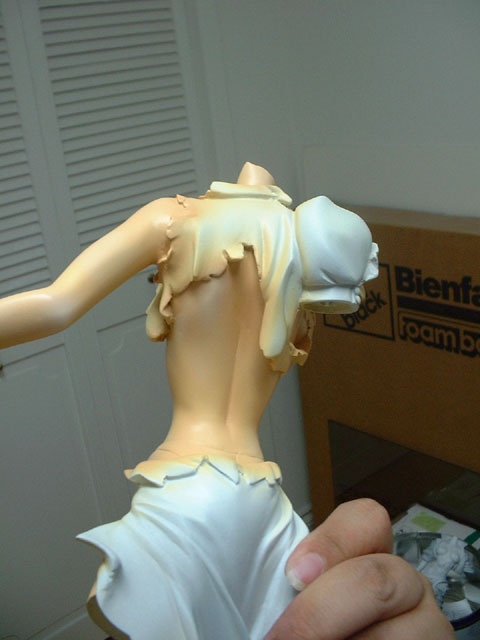
Well, first off we need to spray on white before starting to spray the skin colour.
This step is highly recommended. Without a white base it's hard for a flesh colour to cover up the colour of gray primer. And with a white base the skin colour will also look more vivid.
|
|
|
|
Now it's nice and shiny ^^
|
|
|
You only need to spray the skin pieces white. It's not necessary to spray the piece "completely" white, but make sure each piece's level of whiteness is equal. |
|
|
|
Now we spray the base coat. I only use pure white, red, yellow, blue and white bases. The base coat itself makes the skin look very funny, but you shouldn't worry about it. As you spray the second and third coat, the skin colour will turn out nicely.
|
|
Base coat should be easy to spray, as you only need to spray the colour solid. Remember, it takes more then 2-3 coats to completely cover the white base. Only spray thin coats of paint, or else it will take a very long time before each coating drys. And as usual, do not paint a second layer until the first layer of paint is completely dry. |
|

|
This part of the painting
can be done in no time.
|
|
|
|
|
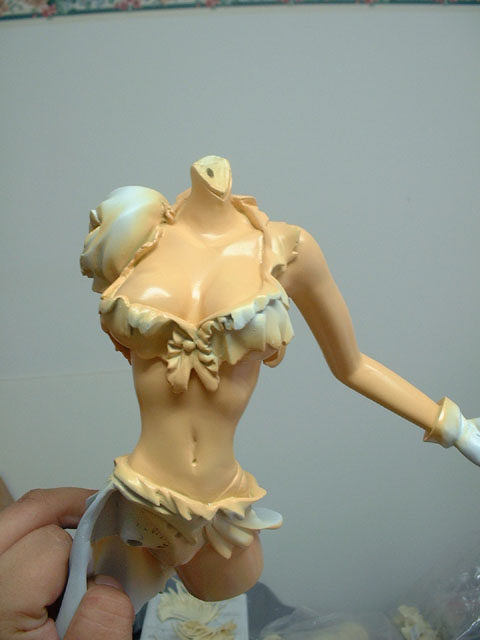
Then we spray the highlight colour. All you need to do is add some white into your original mixture. Then thin the paint a bit and spray only on the raised areas (more precisely, the bright part of the kit). You will have to imagine where the light is coming from and discover the areas that will receive more light. The more light it receives, the brighter that area should be.
|
|
|
|
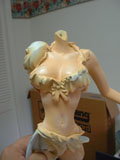
Now the skin colour looks more life-like.
|
|
|
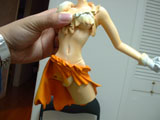
| Painting the Skirt |
|
|
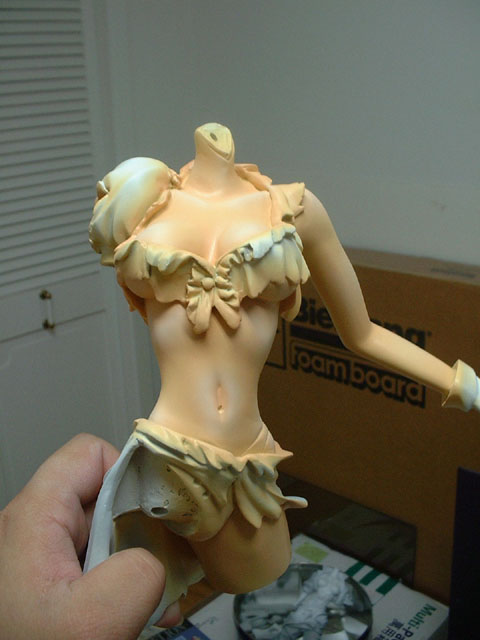
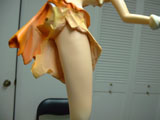
We need to paint the skirt and underwear before we can complete painting her skin.
|
|
|
|
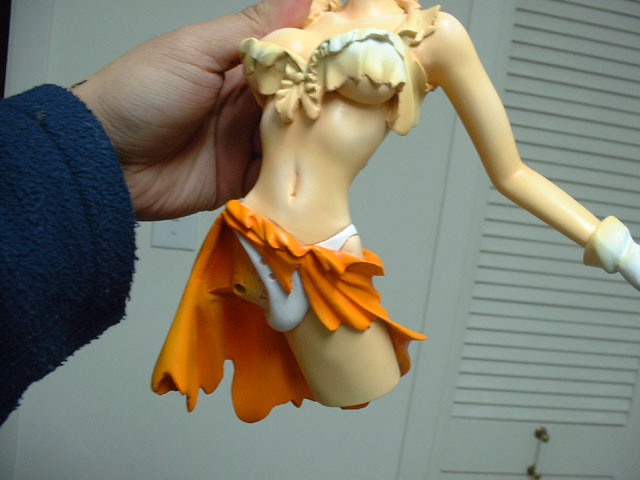
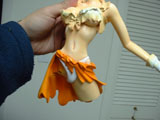
Airbrush the skirt.
|
|
|
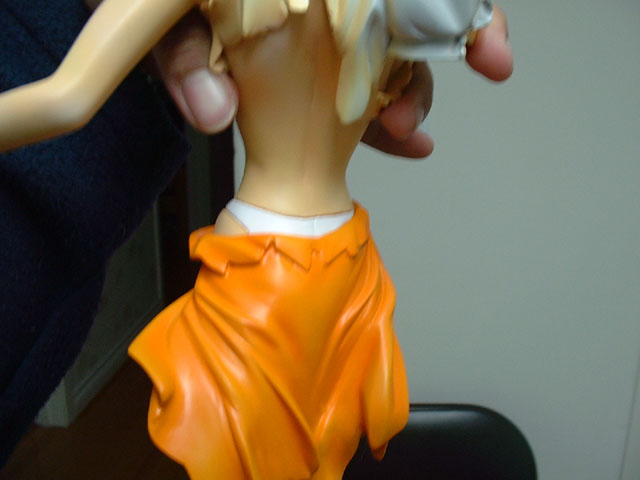
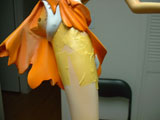
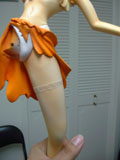
The skirt is easy. Just spray with orange, highlight with yellow + orange, and then dark shade with an orange + red mixture. |
|
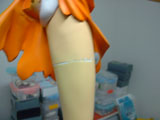
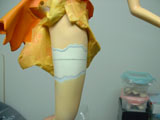
The underwear is white (naturally). You can use either bluish white or yellowish/brownish white. Pure white itself is just too bright for my taste, but that's just me. |
|

|
|
This should takes no time at all.
|
|
|
| Patching the Left Leg |
|
|
Now we are ready to complete all the skin tone.
|
|
|
|
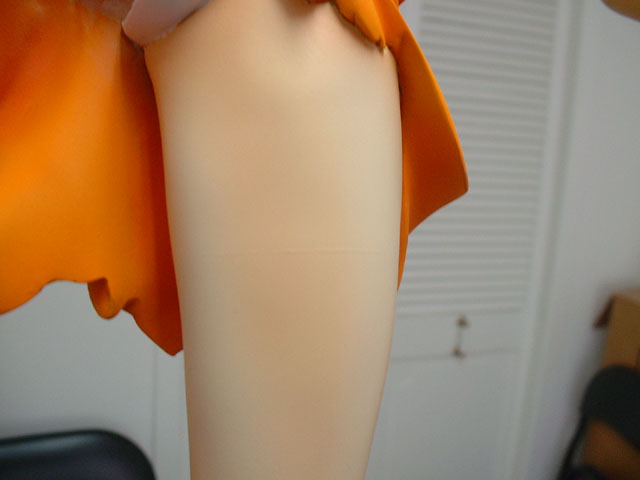
Finally, the leg is in one piece.
|
|
|
We first glue the leg with epoxy glue (don't forget to put the pin inside to reinforce it). Crazy glue might not be strong enough for a kit this size. And don't put too much epoxy glue, or else you will end up having a disaster (more on this later). |
|
|
Now you can patch with either epoxy putty or crazy glue. Sand it down with #240, #400 then #600 sand paper. Make sure the surface is leveled properly. |
|
|
|
Looks ugly now, but no worries, we'll restore it in no time.
|
|
|
|
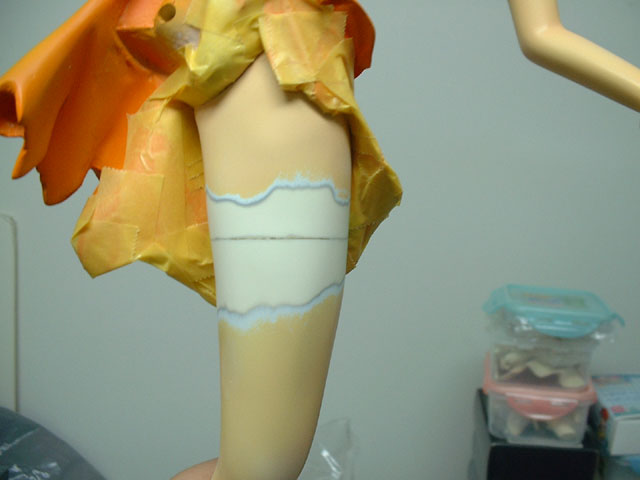
Before we can begin spraying paint, you first need to do some masking. When you put on the masking tape, make sure the tape isn't too sticky or else you might end up peeling off your previous paint job (this is especially true if you are using acrylic paint). You might want to tape the masking tape onto a dry surface once to weaken its bonding glue, and then put them onto the model.
|
|
|
|
See, now it looks even better then before.
|
|
|
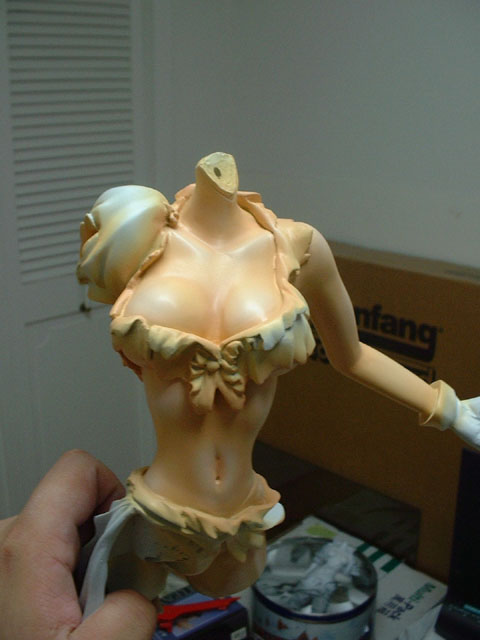
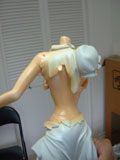
Now we respray our skin colour. Start with a medium tone first, then highlight and dark shade. Keep in mind that I tended to over contrast the colour a bit on this kit so that you could see where I put the highlight and dark shade. Usually with a large model like this you would put lower level of contrast... |
|
|
Well a sad thing happened to me (and it's the reason for my warning above). When I removed the masking tape it ended up peeling off the paint on the skirt and underwear! Now I need to sand down the area where the paint was removed and paint the colour back. The sanding is very important, otherwise if the surface is not level and you begin painting on it you will see a noticeable difference on the surface, and trust me when I say that looks really ugly. |
|
|
|
More sanding and painting ^_^
|
|
|
|

|
|
This is the last thing you ever want to see after you have done all the work...
|
|
|
Now that the skirt has been restored yet another problem has come up. When I glued the leg I put a little too much epoxy glue, so it ended up squeezing onto the surface. Later when I sprayed the skin colour some of the paint was actually paint on the epoxy glue. Epoxy glue reacts to heat, so as the temperature in the room changed it expanded and contrasted a little bit. That caused the paint to get damaged... |
|
|
Usually, the way to repair this is to dig out the epoxy glue on the surface, repatch, and repaint. But I became lazy at this point, so I decided to just put something on top of it to cover the mark. Although now I think I should have used a white colour instead of a transparent one. |
|
|
Well, at least the mistake
is not visible anymore.
|
|
|
To be continued...
|
|