Pre-assemble - Go through the entire
instruction manual first. Examine the build steps to check which pieces need to be glued and
then sand. Plan the assembly stages. Some pieces need to be glued
and sanded (to make the pieces looks like a single piece with no
join lines), and painted before other pieces can be done. Plan how to colour the pieces
and the steps for doing it. If you are going to do any modifications you need to plan
ahead first as well. If you are going to do any ground work, you need even more planning,
not only on what the ground work will look like, but also the way in which you want to
pose the model (in this case, you can paint your highlight and shading colours better).
After you have determined your building steps, you can go on to build
the kit. Cut the pieces carefully and complete your assembly. In
this stage you can make your choice of "which pieces need to be glued"
easier. Sometimes the join line of two pieces ends up being covered by other pieces and
if there is a line between two pieces, chances are, no gluing is required because
you will end up drawing a dark line on top of it later. Remember NOT to snap the pieces
together tightly, or they may not be able to come apart. Some pieces should not even be
put together in the pre-assemble stage to avoid being unable to disassemble them later.
During the pre-assemble stage, you probably don't want to glue any pieces together yet
in order to avoid any mistakes. After you have put the entire kit together, then you will
decide where/when to glue the pieces.
Test fitting is more crucial in building resins. You need to know how the
pieces join together, if there gaps anywhere that need to be patched, and if there are any
places blocking the pieces to fit nicely. Usually you need to hold a few pieces together to
get the big picture (it helps if you have a pair of large hands).
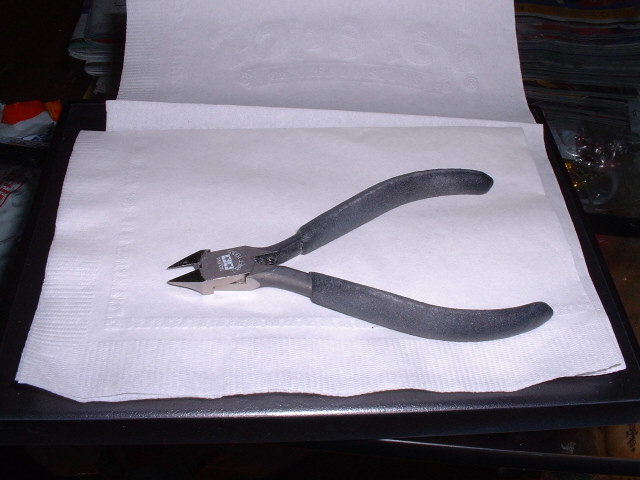
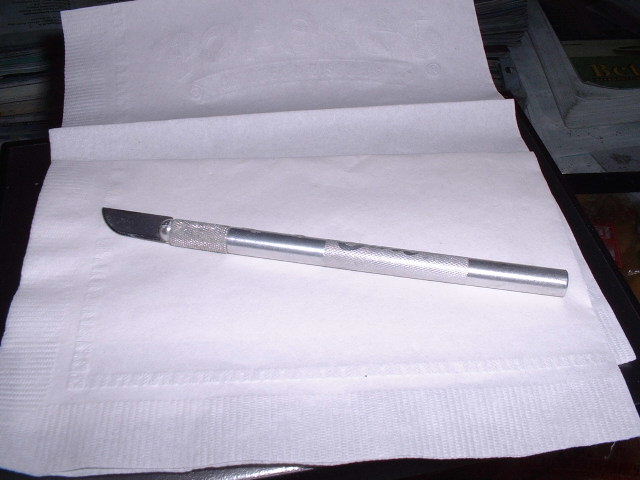
Cutting - Do not cut too close to the piece,
especially when cutting bigger pieces or clear pieces. Sometimes cutting some parts off
of the frame first will make cutting easier for some other pieces. Using a sharp cutter is
always helpful (like the Tamiya ones). If the cutter is
not sharp its better to use a knife to cut the very small pieces. Remember to change the blade
frequently, or use sand paper to sand the blade and keep it sharp. After using the cutter,
one can apply a knife to cut down the large block that is left behind by the cutter. When
using knives, do not try to cut out the large block
in one attempt. Try to cut little bits each time until the block is reduced to a point that one
can sand it away easily.
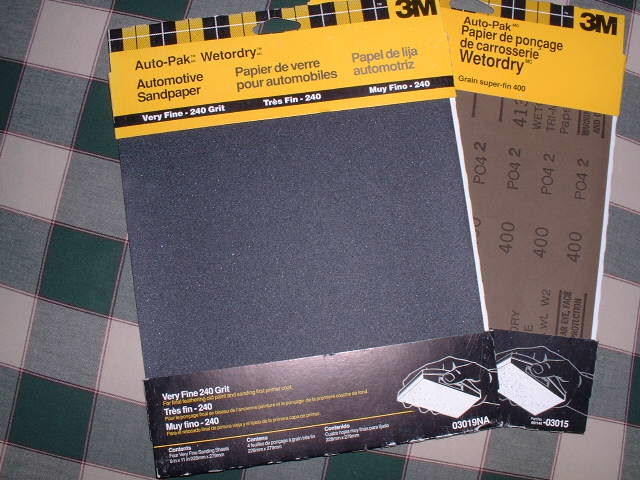
Sanding - Always start with low number
sandpaper and work your way up. For Gundams and plastic
kits, I start with 400, then 600, and finally 1,000. Sometimes I even go up to 1,200 or 1,500
(if you are not going to paint the kit, you should go even higher, to around 2,000+). For
resin kits, I usually start with 240, then 400, and finish with 600. For character flesh, I
sand up to 1,500. For clear plastic pieces, I use 600 - 2,000+ (sometimes as high as 12,000 if
I want the piece looks really glossy). For soft rubber pieces (like MG Patlabor's rubber
piece), I use 600 to 2,000, and then you must add water when sanding rubber pieces (so
waterproof sandpaper is required). When sanding wood (base), you can use 150 - 600. Water
helps to reduce sand lines, but clots the sand paper a lot faster (if you are using
waterproof sandpaper). Folding the sandpaper will help to speed up the sanding process, as
well as help to reach out difficult places. And glue sandpaper onto a flat surface as sanding
tools will also help reach difficult places. The filer is a very good
tool to use to sand the large blocks down fast, and this is especially true for resin kits.
Personally, I do not use filers for sanding plastic kits because I think sand paper is just
as fast and much safer to use. But for resin kits, the filer really comes in handy. It is an
essential tool for resin kits! I especially like the curved shape filer,
though I'll explain why later in the lining section. Polishing compounds and the filer can
be used as well to reduce the sanding marks. Sand the sanding area wider when using a higher
number sandpaper, so that you can make sure all sanding marks are being polished. And make
sure to follow the shape of the model. When it's flat, don't sand it round, and when it's
round, don't sand it flat.
Gluing - Make sure to put enough glue between
two pieces. Usually when two pieces snap together you should be able to see glue squeezing
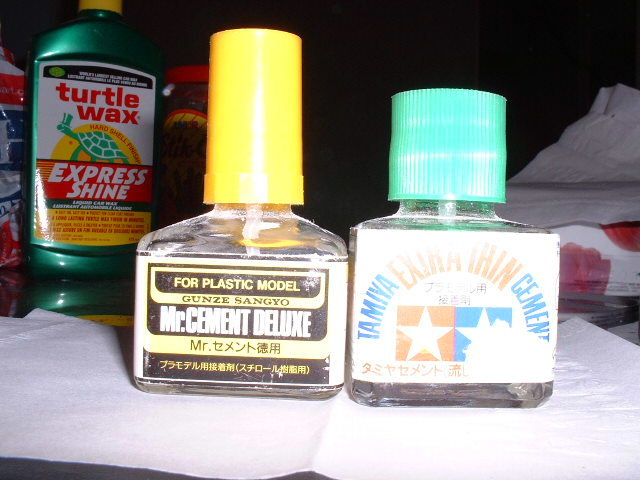
out from between them. There are two different kinds of cement
glues, and therefore two different methods of gluing with plastic cement. One is to put the
glue on first and then put the pieces together, while the other is to put the pieces together
and then apply the glue. The first method is the one I recommend (the second kind of glue
usually states "extra fine" on the label). Don't put glue in places that its not needed, or
places where sandpaper will not reach. Hold the two pieces tight against one other for about
half a minute in order for the glue to set. Obviously do not touch the pieces when the glue
has not yet dried. Cement glue usually takes 24 hours to dry. Cements do not work on resins,
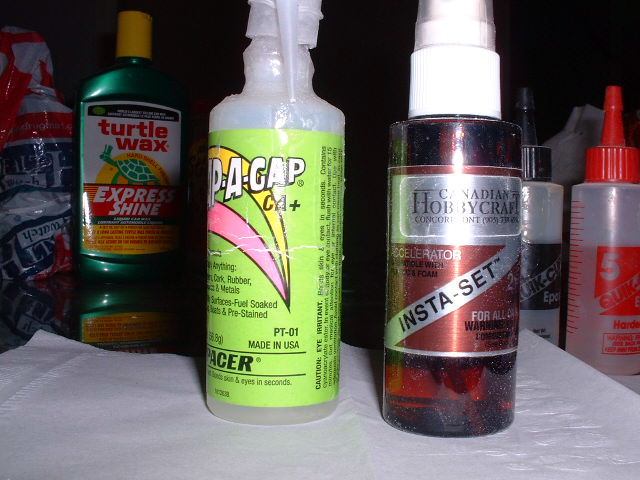
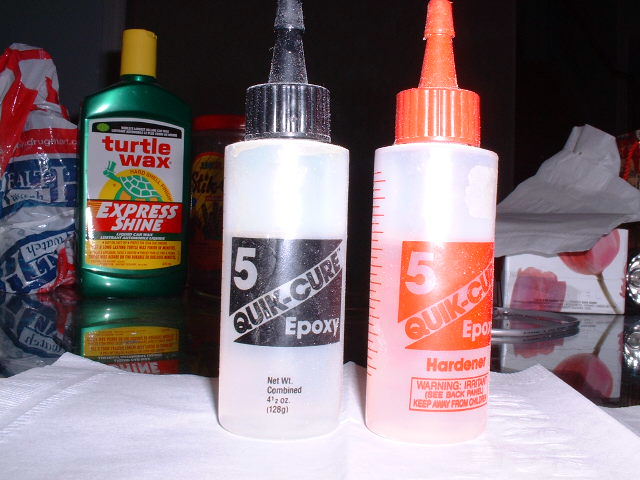
and you should instead use crazy glue or epoxy glue.
Epoxy glue is stronger and has more flexibility, making
it the best glue for putting together large (resin) pieces. Crazy glue is easier to control,
but it is more brittle. Therefore, it tends to be used on smaller pieces.
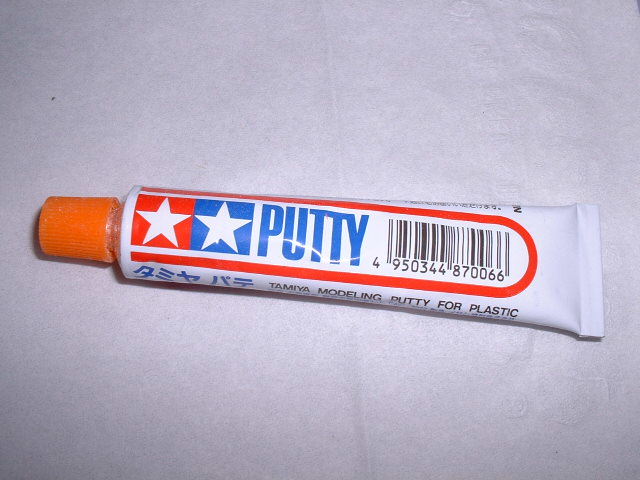
Patching - Use glues
(crazy glue and cement)
or putties when patching. The best way to patch a plastic
kit is to use a cement glue. When applying
Tamiya putty, give it about half a day to dry. Always add
a little bit of thinner (I use Mr. Color thinner) with Yamiya
putty, or else it will not stick well. Know the hardness of different putties, so that
you can apply them to materials with different degrees of hardness. Generally,
Tamiya is good for plastics. Resin figures need different
patching materials. Crazy glue is good for patching
pinholes on the surface, as well as filling cracks. Tamiya putty
can be applied after the pieces are primed. Other putties with greater hardness are used for
sculpturing and patching large areas.
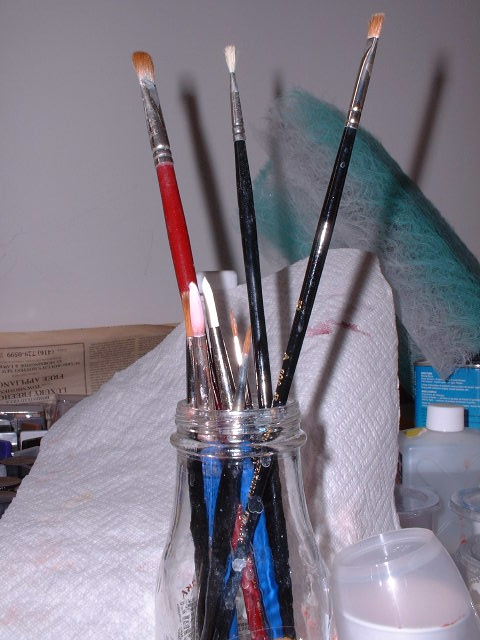
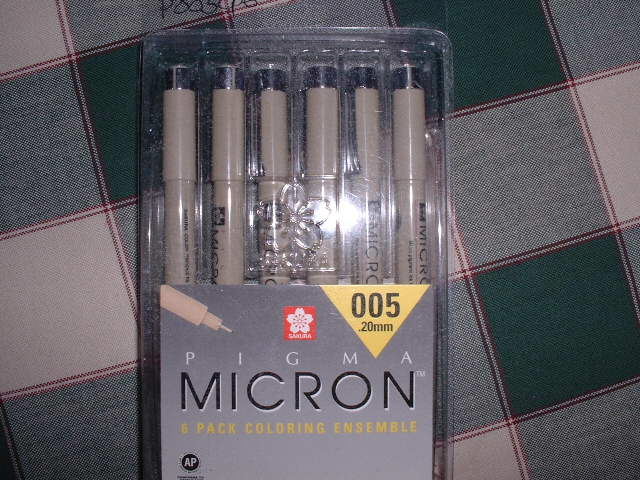
Lining - For lining use a Gundam marker or
brush. Using a hand brush is more difficult, and requires some
practice, but the end result is a lot better. Also you can mix your own colours and control
the thickness of the line. Gundam markers only come in black and the line is thick. Get a
marker from a loval art supplies store. Some of them even have a thickness of 0.05, and have
many different colours to choose from (Sakura Pigma's
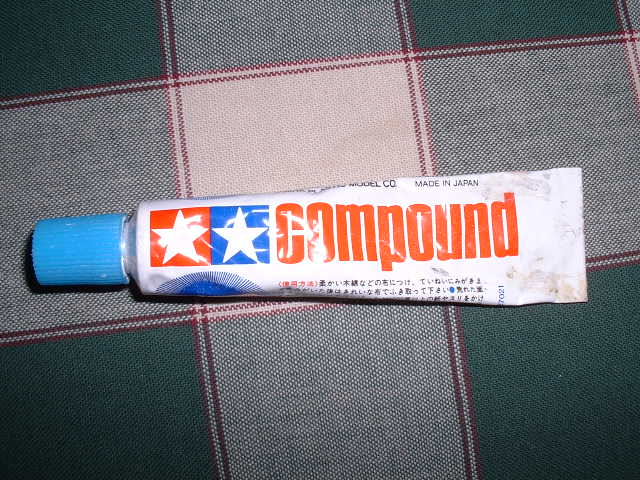
Micron series are the best). When using markers mistakes can be corrected by using
polishing compound from Tamiya to wipe it out. If you
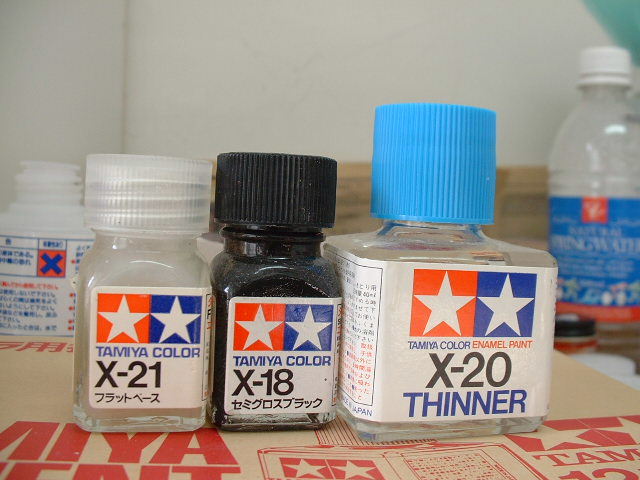
are using a brush, use Tamiya non-acrylic paint
(those packaged in a very small bottle). Remember to add a flat base and mix the paint well
before brushing. NEVER use markers on resins, only use brushes with a fine tip. If a brush
tip is not fine anymore, you will need to get another (you may need to change your brush quite
frequently depending on what quality of brush you purchased).
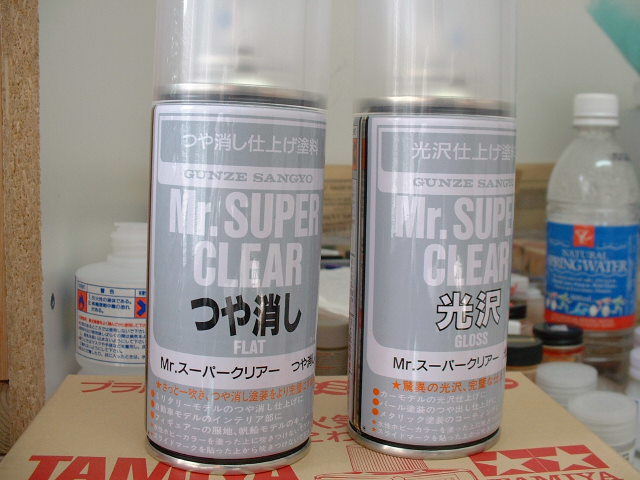
Spray Can - Shake the can well (about one
minute) before using it. Spray one thin coat at a time. Wait until it's completely dry, then
spray another coat. If it's not dry and you spray another coat on top, melting of the paint
could occur. Therefore, always keep your hands moving, spray and move, never repeating the
same area until it's dry. DO NOT spray too close to the piece or the content will
flood certain areas, ruining details. If you spray too quickly with flat sealer the result
will still comes out glossy. Don't use your hand to hold the piece while spraying/priming.
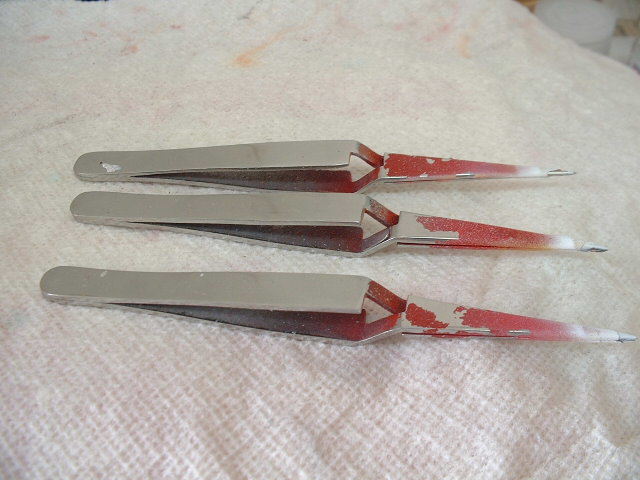
Always use something (a wooden stick or Tweezers) to hold
the pieces. Otherwise you might leave your fingerprints on the surface. And the most important
thing, DO NOT touch the piece before it's fully dried. Sometimes the upper layer of the coating
is dry, but inside it's not. When you touch the surface, it would seems that it's dry, but if
you try to hold it you will leave your fingerprints on it.
Stickering - Always keep old stickers for
future use.ĀHobby Denki has good stickers. Decal printer is also available on the market for
consumer purchase. Scratch type decals are the best, though water type stickers are good when
you don't have scratch ones. When you don't have either of them then use regular stickers.
Cut out the unnecessary edges of a sticker. Do not rely on the cuttings on the stickers,
because they usualy tend to be too large for placing on the model. Place the sticker quickly
and try to be accurate. Mr. Sticker softener can be used to help in stickering. When
using scratch-type stickers, make sure there is enough room to hold the sticker. Using tape
to hold it to the surface of the model might help stablize the sticker while scratching. With
water-type stickers be sure to let them soak in water for some time before applying. Add
water to the surface before putting the sticker down. Add more water if the sticker does not
stick or needs to be re-positioned. Then use a cotton stick or paper to absorb excess water
from one side of the sticker. When using regular stickers, use a
cotton swabs or some soft, non-pointy object (like a
stylus) to squeeze out the air from under the sticker (try to
start from the centre and work your way out). You can spray a thick layer of
clear coat on top of the sticker to blend it with
its surroundings (though remember to spray only one thin layer at a time).
Washing - Although plastic kits generally
don't need to be washed, all resin kits must be washed before priming and painting.
There are two ways of doing this. One, you can put the pieces into soapy water and leave
them there for a week or so. Two, you can use a brush (a tooth brush works well) along with
the soapy water to avoid the wait. Make sure you wash all the chemicals off the surface, or
else paint (or primer) will not stick to it properly (and when they peel off, you will feel
very, very sorry). Sometimes due to the making of the kit, some pieces have places where the
chemical have mixed inside, so no matter how hard you wash and sand, paint just wouldn't stick
on those area. When facing with such a challenge, the only option is to dig out the
contaminated material and patch the damage with putty.

